
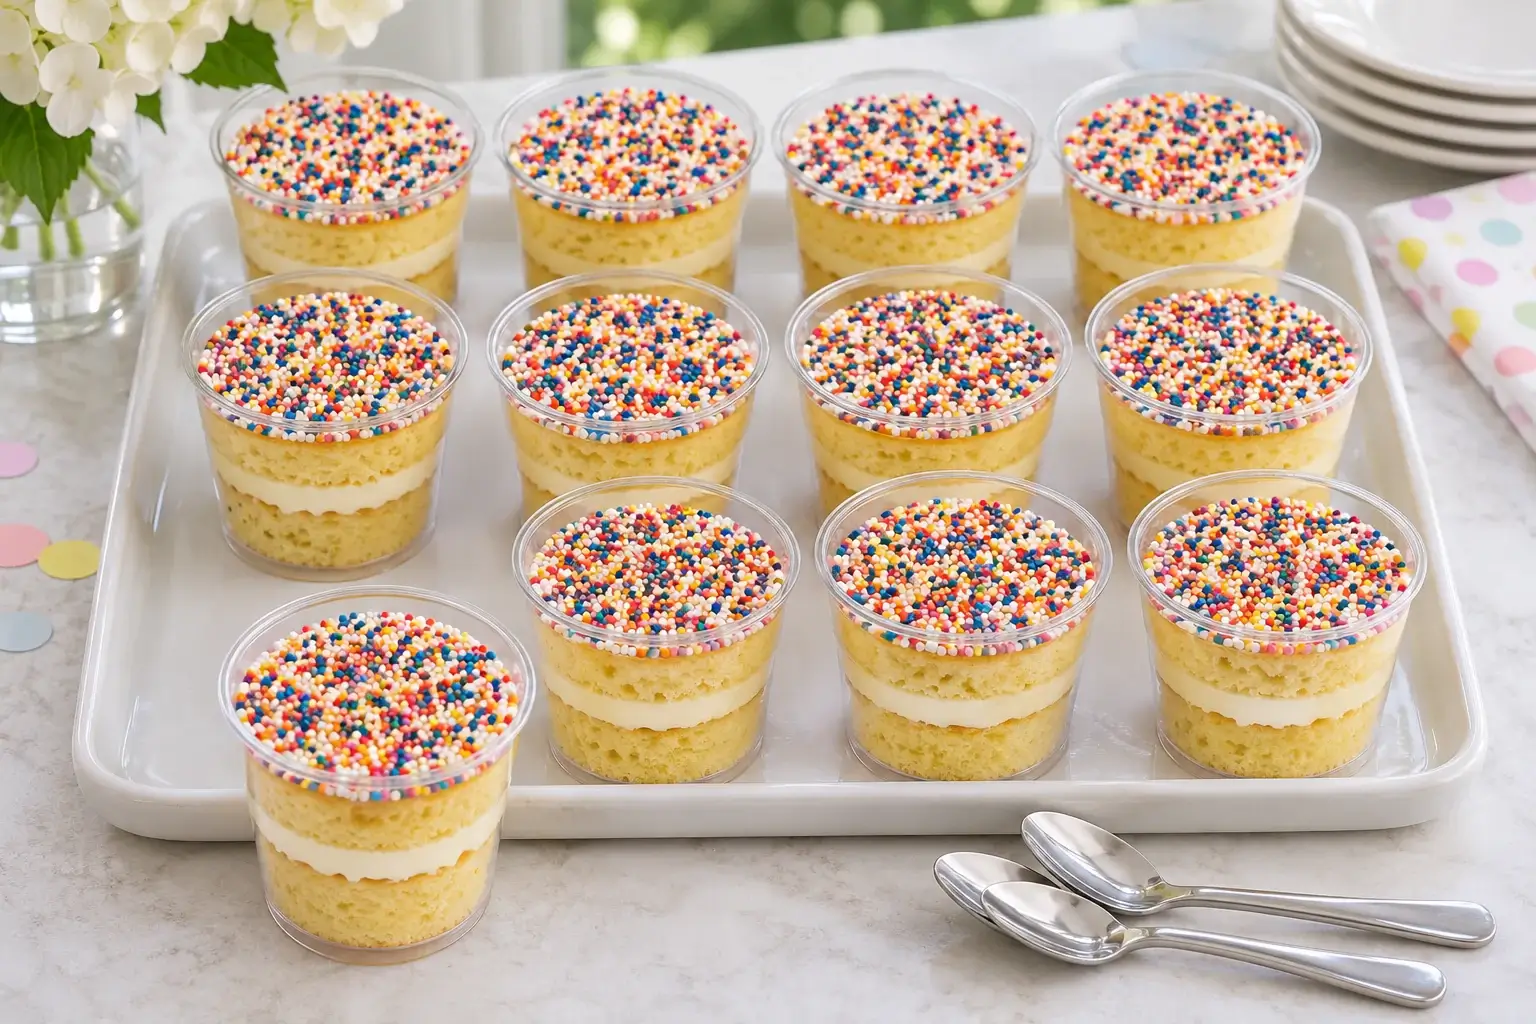
To make dot cakes for a party, start with twelve 4–5-fl-oz cake cups from one rimmed 13 × 18-inch sheet pan. Use two thin layers for twelve fuller cups, or make sixteen smaller tasting portions with one clean round and a layer of cake trimmings. Set up the cups and frosting the day before, then finish with nonpareils shortly before the party. Flat tops leave room for lids and make it easier to transport several dozen servings without smearing the frosting.
Why dot cakes work for parties
Guests can pick up a cup and a spoon without waiting for slices. A tray also gives you a way to portion the cake before the event. For a dessert table with cookies or another cake, a small cup is plenty. For a single-dessert birthday party, choose a taller cup with two layers. Use snug lids and a larger tray if the cups are going in a car. Save any open glasses for a table at home.
Count the guests, then decide whether you want two spare cups for replacements or second helpings. If you are also making this orange Jello poke cake, you can keep the cups at tasting size. For a school-color table or an event with a larger centerpiece, these graduation cake ideas give you options alongside the individual desserts.
Choose the cup before baking
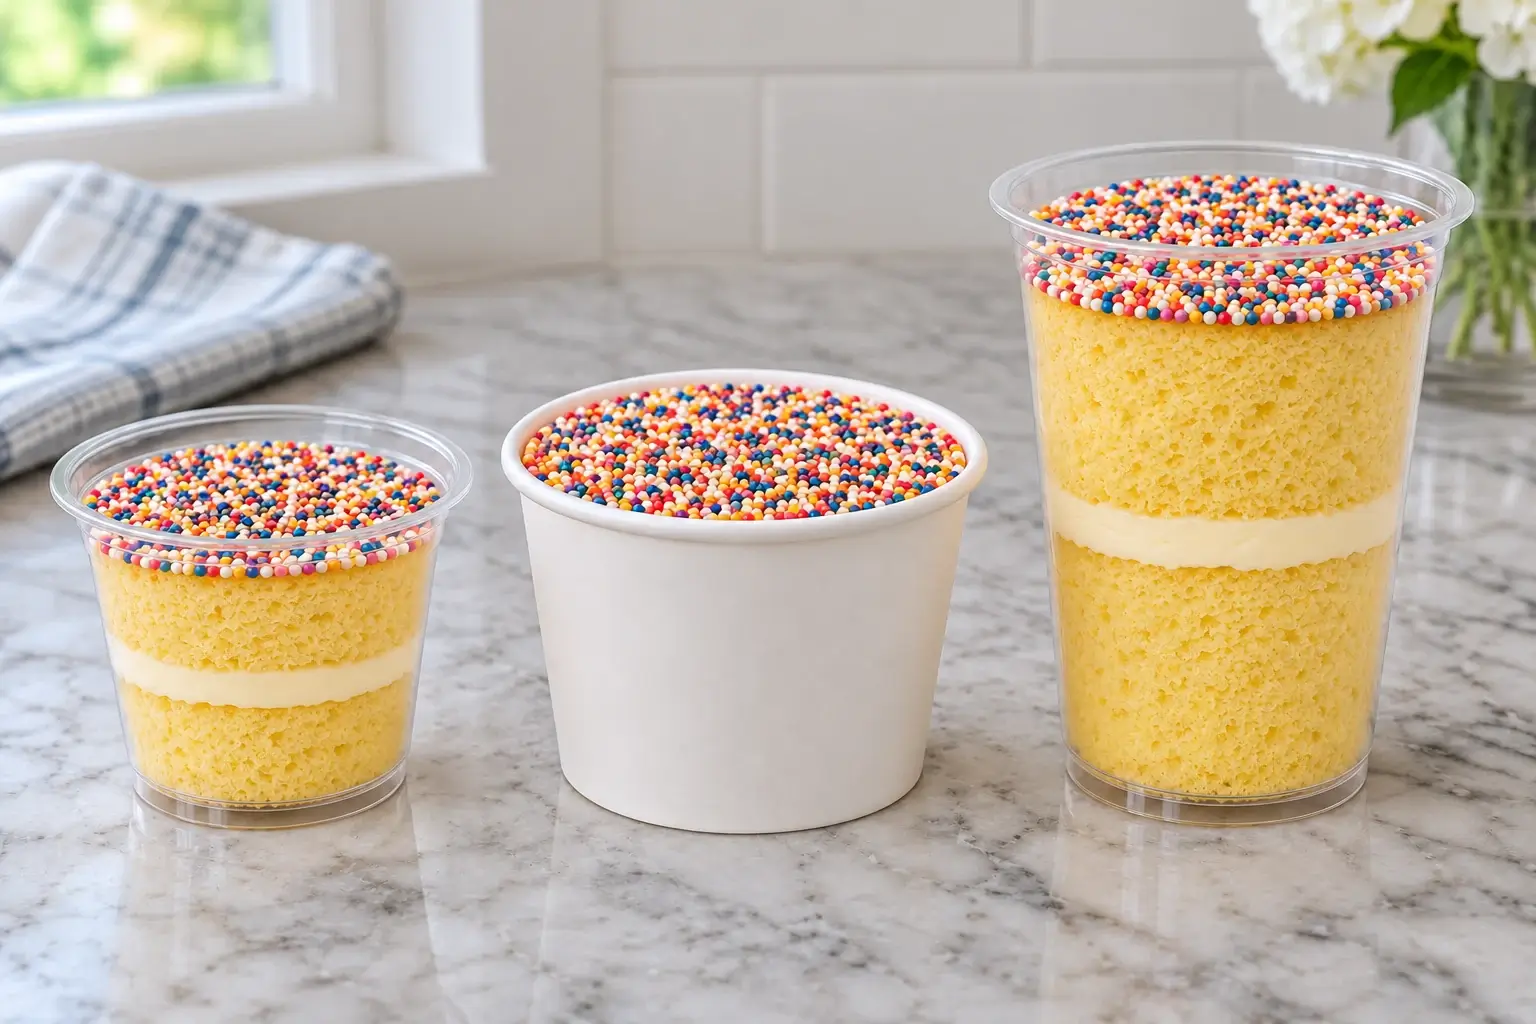
The volume on a cup is measured as fluid ounces. The inside diameter, taper and height determine which cake round fits and how many rounds the pan will yield. Measure the cup just below where you plan to put the frosting. Cut one round and build a sample before cutting everything. A nominal 8-fl-oz cup can be narrow and tall or short and wide, with very different results.
| Cup | Layers and practical planning yield | Good use |
|---|---|---|
| 4–5 fl oz clear cup or wide-mouth jar | About 12 small double-layer cups with a narrow cutter, or up to 16 tasting cups using a single round plus trimmings | Dessert buffet, tasting portions or take-home favors |
| 5½–8 fl oz paper ice-cream cup | About 6–12 fuller cups, depending on actual diameter and number of layers | Birthdays, school events and easy frosting cleanup |
| 8–9 fl oz clear plastic cup | A deeper two-layer serving. A narrow cup can give around 12, while a wide cup uses more sheet area | A single-dessert table or clear views of the layers |
| 4 fl oz wide-mouth Mason jar | Try a 2⅛-inch cutter first and check the jar shoulder. Fill to allow room for the lid | Gifts or events where reusable containers are practical |
Check the cutter against the pan. For 12 two-layer cups you need 24 rounds. A 2½-inch cutter can fit about five rows of seven on a full 13 × 18-inch footprint before edge loss. After trimming and allowing for the pan’s usable inside dimensions, count your actual rows. At 3 inches, a 12 × 17-inch usable sheet fits a simple grid of 20 rounds, so use scraps for some lower layers or bake an additional sheet. A 4-fl-oz cup also needs headroom if the lid is flat.

Make-Ahead Party Dot Cake Cups
- Total Time: 1 hour 50 minutes
- Yield: 12 mini cake cups 1x
Description
A yellow pudding sheet cake layered with vanilla buttercream and round nonpareils in twelve individual party cups.
Ingredients
Yellow sheet cake
- 4 large eggs
- 2/3 cup whole milk or buttermilk
- 1 teaspoon vanilla extract
- 2 1/4 cups all-purpose flour
- 1 1/2 cups granulated sugar
- 2 teaspoons baking powder
- 3/4 teaspoon fine salt
- 1 cup unsalted butter, softened and cubed
- 2 tablespoons neutral oil
- 1/3 cup dry instant vanilla pudding mix
Buttercream and topping
- 1 cup unsalted butter, softened
- 4 cups powdered sugar
- Up to 1/4 cup heavy cream, half-and-half or whole milk
- 1–2 teaspoons vanilla extract or vanilla bean paste
- 1 pinch fine salt
- 1/2–1 cup rainbow nonpareils, plus more as needed for dipping
Instructions
- Heat the oven to 350°F (175°C). Line the rimmed sheet with parchment. Whisk the eggs, milk and vanilla. In the mixer bowl, combine the flour, sugar, baking powder and salt.
- Beat in the soft butter a few cubes at a time until the dry mixture looks sandy. Add half the egg mixture and the oil, then beat until the batter looks lighter. Mix in the rest of the egg mixture with the dry pudding powder just until even. Scrape the bowl and spread the batter across the sheet.
- Bake for 18–22 minutes, checking for a set center and a clean toothpick. Let the cake cool fully. If it feels fragile, chill it briefly before cutting.
- Beat the butter until pale, about 3–4 minutes. Add the powdered sugar in stages. Beat in the vanilla and salt, then add cream a little at a time until the frosting spreads without pulling the cake apart.
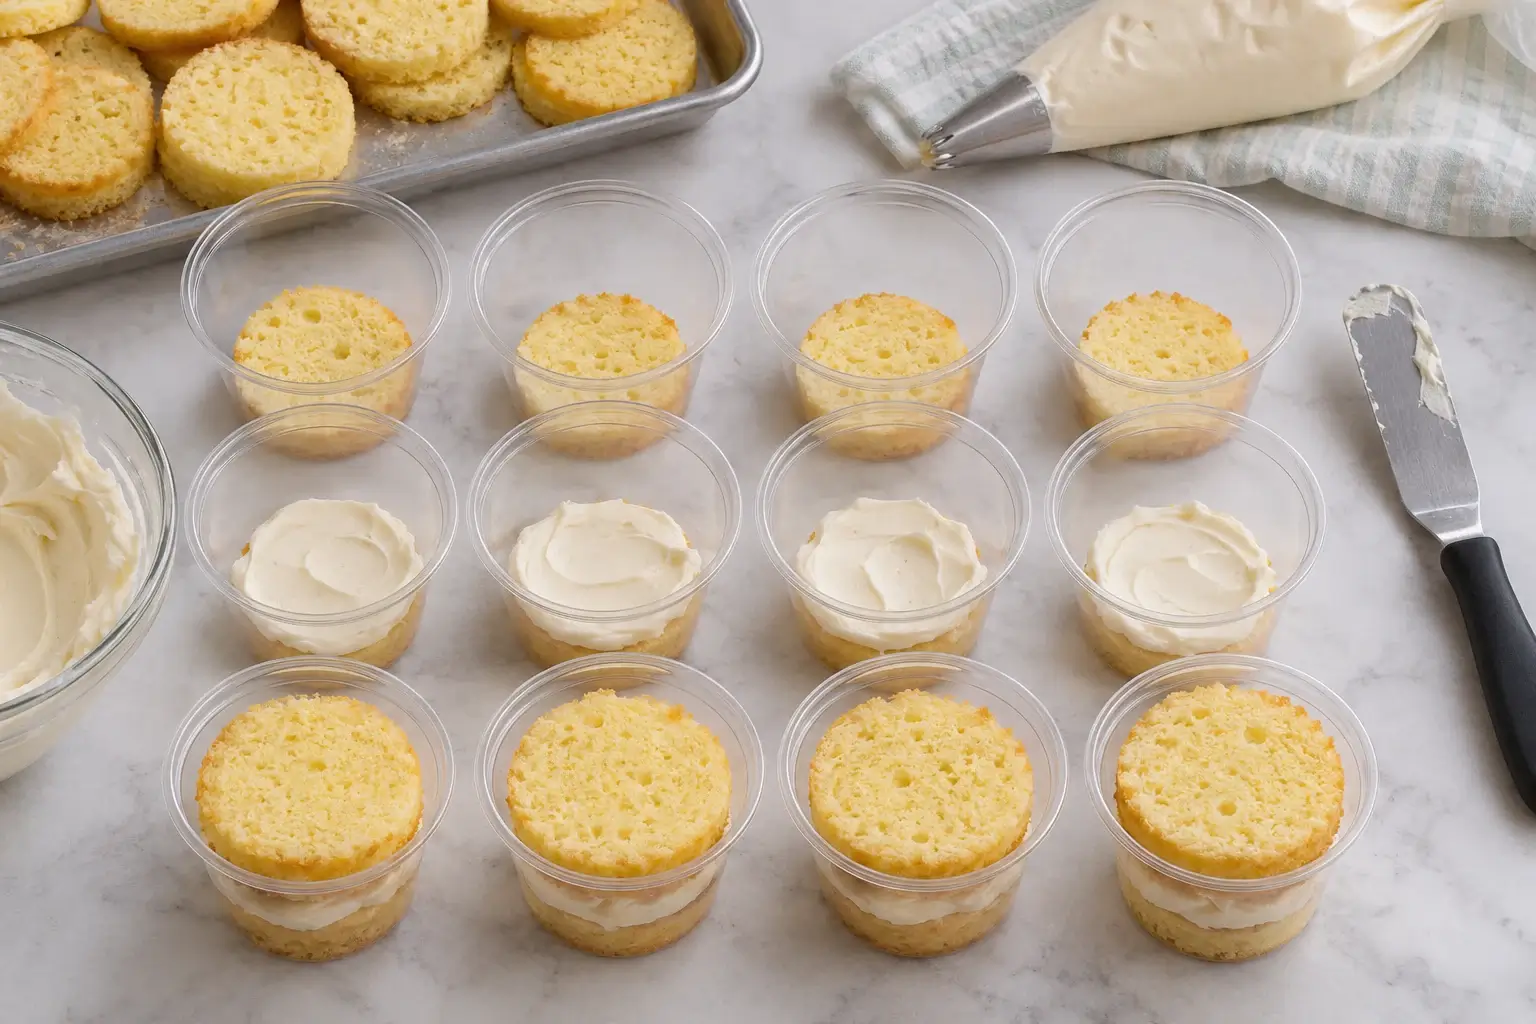
- Cut one round and build a sample cup. Once the height is right, cut the rest. Put all the bottom rounds in the cups, add a thin frosting layer to every cup, then put in the upper rounds. Spread enough frosting across the tops to hold sprinkles.
- For a full sprinkle crust, level the frosting at the rim and dip each cup straight down in a shallow plate of dots. If a flat lid touches the rim, stop the frosting just below it, spoon dots onto the surface and press gently to set them. Finish a few cups at a time and keep the others cold.
Notes
Use the pudding mix dry. Build one sample cup before cutting the remaining rounds. Assemble and refrigerate the cups up to a day ahead. Leave clearance for lids and add nonpareils near serving time. To serve 16, use smaller tasting cups with trimmings in the lower layer, or bake another sheet for full double-layer servings.
- Prep Time: 40 minutes
- Cooling Time: 48 minutes
- Cook Time: 22 minutes
- Category: Dessert
- Method: Baking
- Cuisine: American
Keywords: dot cakes for a party, mini dot cakes for parties, make-ahead dot cakes
The pudding sheet cake method is adapted from Modern Honey’s cake-in-a-jar recipe. If you plan to make 24, bake two sheets as separate batches and assemble both after they cool. Mixing and baking the sheets separately makes it easier to keep the batter depth and bake time consistent. For a smaller homemade batch, see the guide to easy homemade dot cakes.
Box mix express and the cup-free double-chill method
Box mix express. Use one standard box of Funfetti, chocolate or lemon cake mix, the package additions and the frosting above or a ready-to-spread tub. On a 13 × 18-inch rimmed sheet, a thin layer can bake in about 13 minutes at 350°F, depending on the mix and batter depth. On a 10 × 15-inch jelly-roll pan, allow roughly 18–20 minutes as an early check. Use the package temperature and doneness cues, and allow enough time to cool. For a quick boxed chocolate version, see My Rad Kitchen’s chocolate dot cakes. A 37-minute production plan depends on a thin sheet and prompt cooling. For wide cups, budget for fewer portions or use two pans.
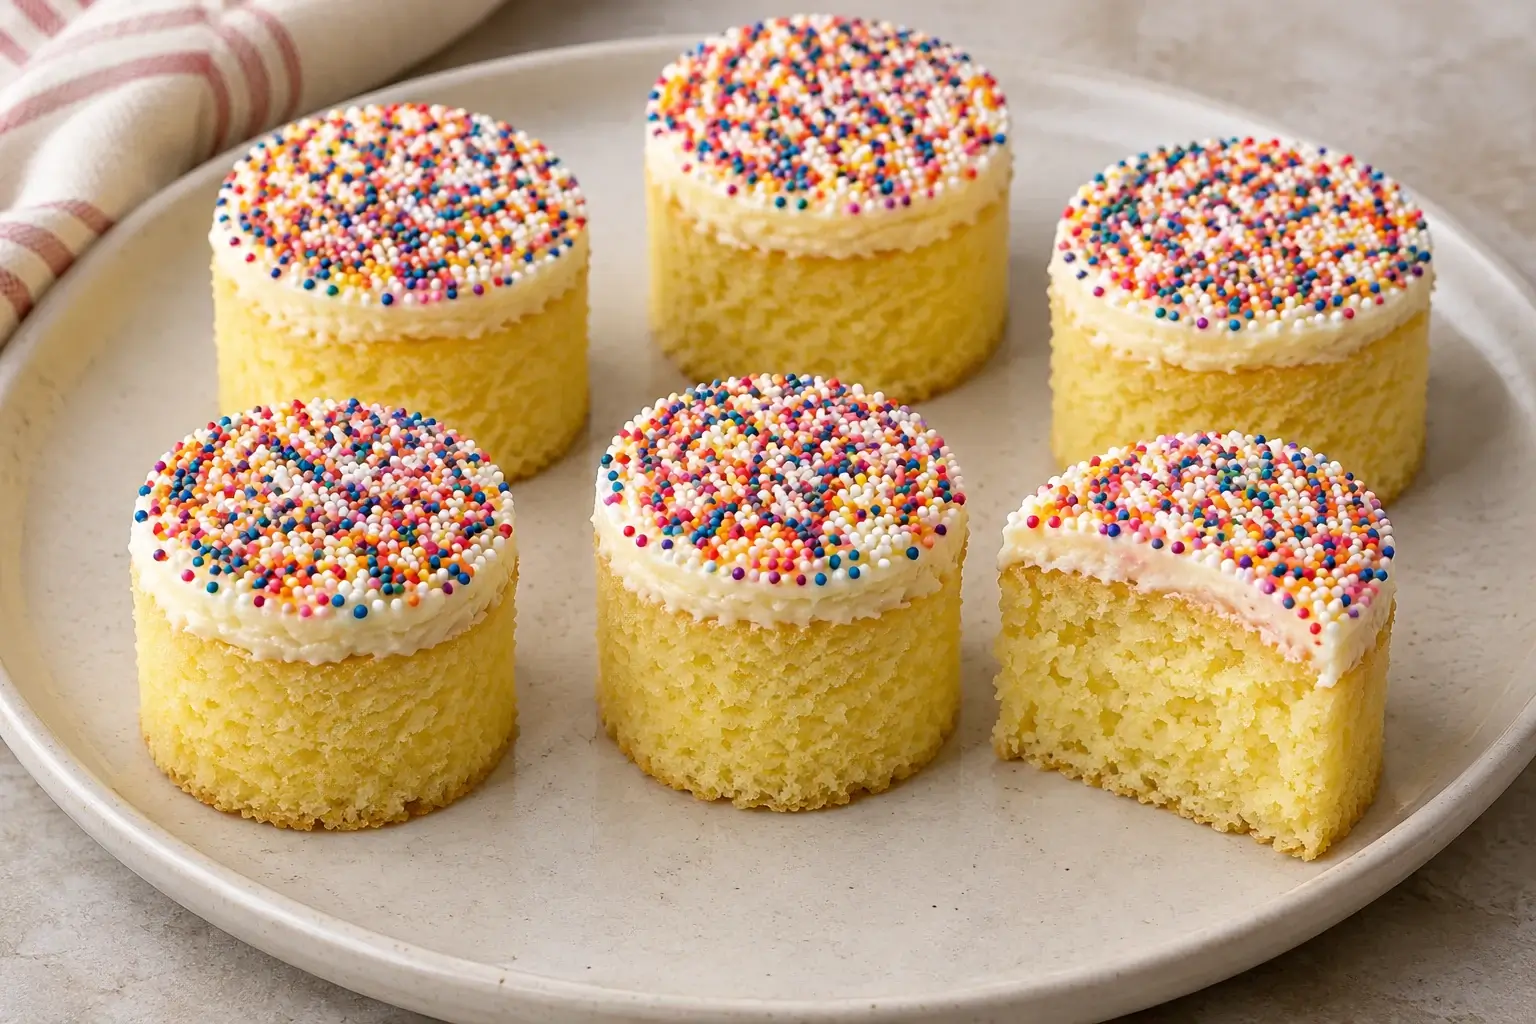
Double-chill for a platter. Bake in a 9 × 13-inch pan, cool fully and chill the sheet until firm enough to cut. Spread an even layer of frosting across the whole sheet, then chill again for 15–20 minutes so the surface firms. Cut cylinders with a thin 2¾-inch cutter and lift each one onto the tray. Let the top soften just enough to grab the nonpareils, then dip or press dots onto the frosting. For the fastest version, cut clean squares with a wiped knife and decorate each top in place. Chill the platter until serving. Kitchen Serf’s cup-free dot cake method.
Birthday and celebration decorations
Pick one two-color blend for most cups and use a small second batch for the guest of honor or for an alternate flavor. For a birthday, sprinkle rainbow nonpareils and use plain-color dots to identify chocolate. For a graduation, work with school colors and stack the cups in a simple pattern across the tray. For Halloween, use orange and black dots on cocoa frosting. For a winter party, the Christmas dot cake decorations show how to make a star or a tree with a cookie cutter.
For a mixed menu, place allergen information next to each flavor. The scratch version uses wheat, dairy and egg. Boxed mixes, ready-made frosting and sprinkle blends have their own labels. Keep the packaging until the party ends, especially if you serve at a bake sale or switch brands between batches. For ideas like a Dubai-style filling or a single protein cup, the formats differ from the main batch. A Dubai-style cup can layer an almond flour, banana and cocoa cake with toasted coconut, pistachio cream and tahini, then a coconut-yogurt topping. It introduces tree nuts, soy and sesame when made with the ingredients in this Dubai chocolate dot cake recipe from Chloe E Vegan. For a protein version, a single 8-fl-oz ramekin can be made with a baking mix and vanilla protein powder, with the yield and nutrition depending on the products and amounts.
Make-ahead schedule and transport
| When | What to do |
|---|---|
| Two days ahead | Count guests and test lids on empty cups. Make refrigerator space for level trays. Buy extra nonpareils if you are dipping every cup. |
| One day ahead | Bake, cool and cut the sheet. Assemble with frosting, cover the cups, and chill at 40°F (4°C) or below. Keep sprinkles dry and separate. |
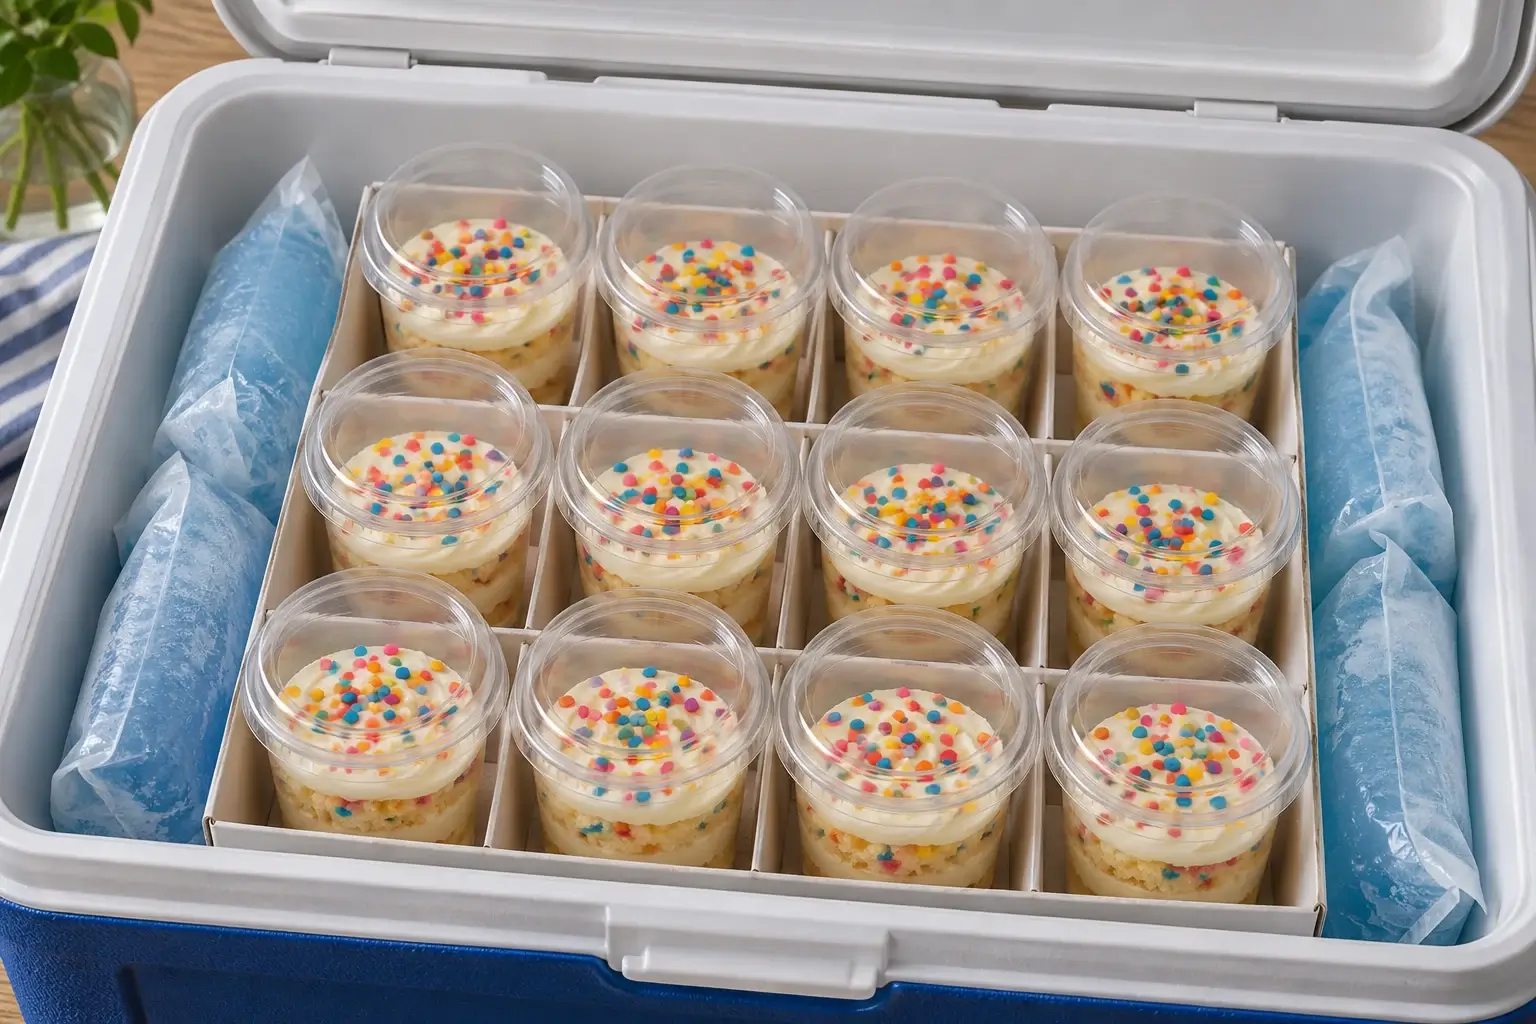
| Before leaving | Set the cold cups in a rigid carrier or shallow box. Use a cooler with ice packs for perishable cups. Add decorations before packing only if there is enough clearance beneath the lids. |
| Just before serving | Dip or spoon on the sprinkles. Put out one tray at a time and keep backup cups chilled. |
Keep transport and display time for perishable cups within 2 hours total outside refrigeration, or 1 hour above 90°F (32°C). Keep the cooler level in the car and set cups upright in snug rows to prevent sliding. Refrigerate leftovers promptly and use within 3 days of assembly. For longer storage, freeze plain cake rounds or fully frosted cups without sprinkles. Thaw in the refrigerator and finish with the dots once the surface is dry. USDA leftover safety guidance.
How to use leftover cake scraps
Fill any gaps in lower layers with neat pieces of cake and save unbroken rounds for the tops. For extra portions, layer cubes and frosting in 4-fl-oz cups. You can also freeze plain cubes for a trifle, fold them into softened ice cream or mix crumbs with a small amount of frosting for cake pops. Add the frosting a spoonful at a time so the crumbs hold when squeezed without turning pasty.
FAQS
How many dot cakes do I need for 12 guests?
Plan on 12 small cups and make 1–2 spares if the cutter yields enough rounds. For 16 guests, use tasting cups and work the trimmings into lower layers, or bake another sheet for full two-layer servings.
What is the best cup size for party dot cakes?
A 4–5-fl-oz cup is a practical starting size for a dessert table. For a larger dessert, try a narrow 8-fl-oz cup and test one serving before cutting the whole sheet.
Can I frost dot cakes the night before a party?
Yes. Assemble them, cover them and refrigerate overnight. Add nonpareils on party day to keep the coating crunchy and the colors sharp.
Can I transport the cakes with the sprinkles already on?
Yes, if the lid clears the frosting and the travel time is short. For a long drive, pack the sprinkles dry and finish the cold cups once you arrive.
How do I serve the cakes without cups?
Use the double-chill method to set the frosting before cutting small cylinders or squares. Transfer them to a flat tray, keep it cool and add sprinkles near serving.
1 thought on “Dot Cakes for a Party (Easy Make-Ahead Mini Cake Cups)”