
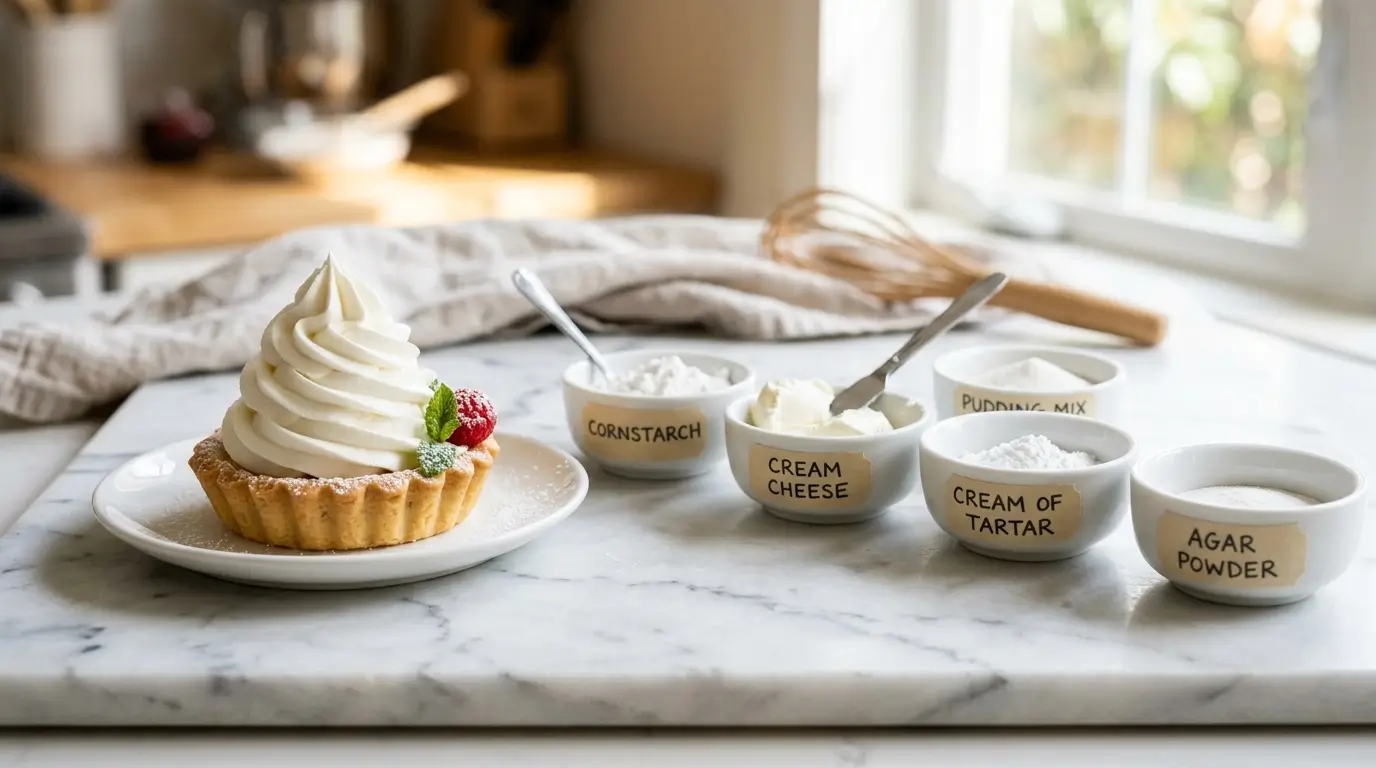
Stabilized whipped cream without gelatin is something every home baker needs at some point — whether for dietary reasons, because gelatin is simply not on hand, or because you want a cleaner, lighter texture than gelatin-stabilized cream produces. Regular whipped cream deflates and weeps within an hour or two. Stabilized versions hold their shape for 2 to 4 days refrigerated, pipe cleanly onto cakes and cupcakes, and survive the journey to a dinner party without turning into a puddle. This guide covers five reliable methods that achieve all of this without a single gram of gelatin.
Why Stabilize Whipped Cream Without Gelatin?
The standard method for stabilizing whipped cream uses unflavored gelatin — it is effective and lasts the longest. But there are several legitimate reasons to avoid it.
Dietary restrictions. Gelatin is derived from animal collagen, making it unsuitable for vegans, vegetarians, and people following halal or kosher diets that restrict pork or non-certified animal products. The same applies to anyone who wants plant-based desserts end-to-end. For a deeper look at gelatin-free alternatives across recipes, the gelatin-free gummies guide covers plant-based substitutes in detail.
Texture preference. Gelatin-stabilized whipped cream has a slightly spongy, set quality that some bakers find too firm for delicate pastry applications. The methods below generally produce a lighter, silkier texture.
Availability. Many home kitchens simply do not stock unflavored gelatin. All five methods below use ingredients that are almost certainly already in your pantry or refrigerator.
Method 1 — Cornstarch (Fastest and Most Reliable)
Cornstarch is the most widely available and beginner-friendly stabilizer for whipped cream. The starch granules absorb moisture and prevent the fat and water in cream from separating, keeping the whipped structure intact for 2 to 3 days. The texture is smooth and natural — most people cannot taste the difference from unstabilized cream.
Ratio: 1 tablespoon cornstarch per 1 cup heavy whipping cream.
How to use it: Whip cold heavy cream to soft peaks. Add powdered sugar and cornstarch together (the powdered sugar’s own cornstarch content adds a secondary stabilizing effect). Continue whipping to firm peaks. Use immediately or refrigerate.
Best for: Everyday whipped cream on pies, tarts, hot cocoa, and pancakes. The go-to method for most home baking.
 🍰 No Gelatin Needed
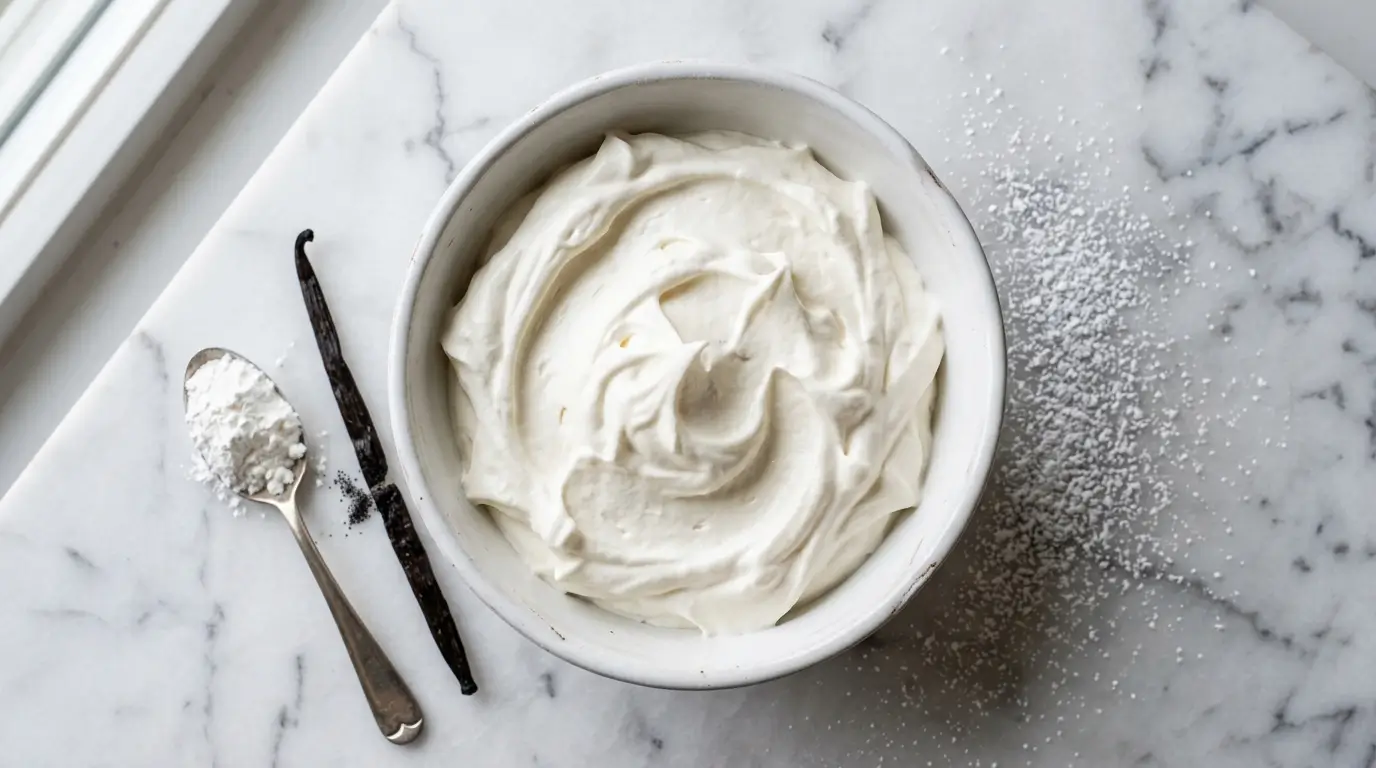
Cornstarch Stabilized Whipped Cream
4 ingredients · 5 minutes · holds firm peaks for 3 days · works with coconut cream too.
- 1 cup heavy whipping cream (cold — straight from fridge)
- 2 tbsp powdered sugar
- 1 tbsp cornstarch
- ½ tsp vanilla extract
Chill bowl and whisk attachment in freezer for 10 minutes.
Mix cornstarch and powdered sugar together in a small bowl.
Whip cold cream on medium until it starts to thicken.
Add cornstarch mixture and vanilla. Increase to high speed.
Whip to firm peaks. Refrigerate up to 3 days.
Method 2 — Cream Cheese (Best for Frosting)
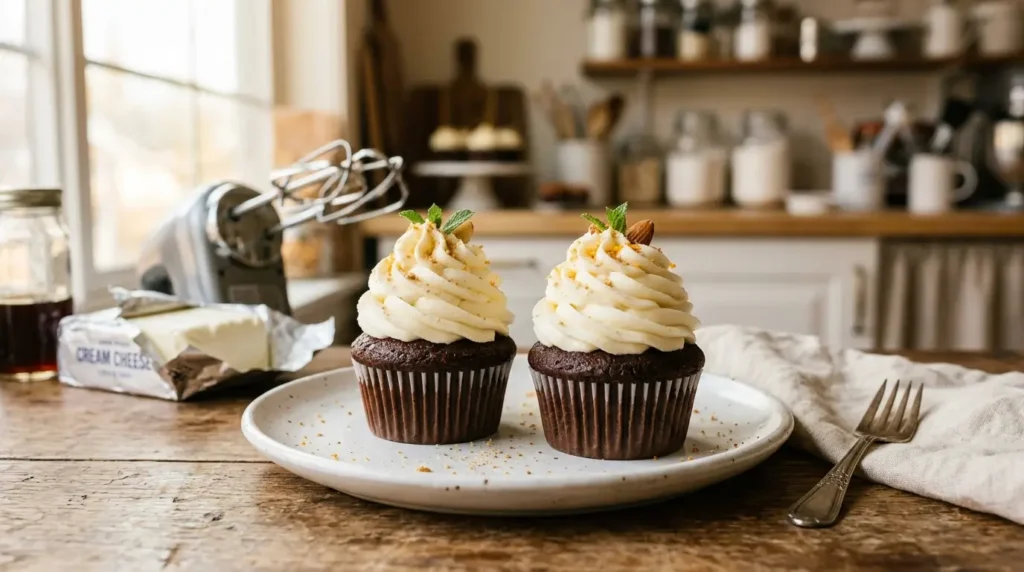
Cream cheese is the best stabilizer when the whipped cream will be used as a frosting or filling — it produces a richer, slightly tangy cream that pipes beautifully and holds firm peaks for up to 4 days. It is the closest non-gelatin alternative in terms of longevity.
Ratio: 2 oz softened cream cheese per 1 cup heavy whipping cream.
How to use it: Beat softened cream cheese alone until completely smooth — no lumps. Add powdered sugar and beat again. Then slowly drizzle in cold heavy cream while beating on medium speed. Once combined, increase to high speed and whip to firm peaks.
Critical step: The cream cheese must be fully smooth before adding cream. Any lumps at this stage will remain lumps in the final product. Room temperature cream cheese (not cold) is essential.
Best for: Cake and cupcake frosting, piped rosettes, layer cake fillings. The slight tang complements fruit-forward desserts particularly well.
Method 3 — Instant Pudding Mix (Easiest Method)
Instant vanilla pudding mix is the shortcut option — it contains modified cornstarch and other stabilizers that produce firm, long-lasting whipped cream with almost no technique required. One tablespoon of dry pudding mix per cup of cream is sufficient.
How to use it: Add 1 tablespoon of dry instant pudding powder (vanilla or white chocolate) directly to the cold cream before whipping. Whip to firm peaks as normal. The modified starch activates immediately on contact with the cream’s moisture.
Texture note: Pudding-stabilized cream has a slightly denser, more substantial mouthfeel than other methods. It holds its shape the longest of all the non-gelatin options — up to 4 to 5 days refrigerated.
Best for: Cream puffs, eclairs, trifles, and any application where maximum stability is needed and a slightly richer texture is welcome.
Method 4 — Agar Agar (Best Vegan Option)
Agar agar powder — the same seaweed-derived gelling agent used in the non gelatin marshmallows recipe on this site — works as a gelatin substitute for whipped cream stabilization. It requires slightly more technique than the other methods but produces a fully vegan result with excellent stability.
Ratio: ¼ teaspoon agar agar powder per 1 cup heavy cream (or coconut cream for fully vegan).
How to use it: Dissolve ¼ tsp agar agar powder in 2 tablespoons of water. Heat gently until fully dissolved — do not boil. Let cool to room temperature (not cold — cold agar sets instantly on contact). Whip cream to soft peaks. Drizzle cooled agar mixture in slowly while continuing to whip. Beat to firm peaks.
Important: Agar sets faster than gelatin. Add it when cooled but still liquid — if it has started to gel in the bowl, reheat gently until liquid again before adding.
Best for: Vegan desserts, dairy-free applications using coconut cream, and anyone avoiding all animal products. Works beautifully with the honey trick recipe as a topping on wellness-focused desserts.
Method 5 — Cream of Tartar (Lightest Texture)
Cream of tartar is an acid that stabilizes protein structures — it is most commonly used to stabilize egg whites in meringue, but at small quantities it also helps maintain the air structure in whipped cream. It produces the lightest, most delicate texture of all the methods and is barely detectable in flavor.
Ratio: ¼ teaspoon cream of tartar per 1 cup heavy whipping cream.
How to use it: Add cream of tartar to the cold cream at the beginning of whipping. Whip to firm peaks as normal. No additional steps required.
Longevity: This method is the least durable — the cream will hold for about 1 to 2 days refrigerated, compared to 3 to 5 days for the other methods. It is best suited for same-day serving.
Best for: Delicate pastry applications where a light texture matters more than longevity — pavlova topping, fresh fruit desserts, and any preparation where whipped cream will be consumed the day it is made.
Which Method Should You Use?
Longest shelf life (4–5 days): Instant pudding mix or cream cheese. Best texture for piping: Cream cheese or cornstarch. Fastest and simplest: Cornstarch. Vegan and dairy-free: Agar agar with coconut cream. Lightest texture: Cream of tartar (same-day use only).
For everyday home baking, cornstarch is the answer 95% of the time — it is in every kitchen, adds no flavor, and reliably holds for 3 days. For a more structured frosting, cream cheese is the upgrade.
Tips for Perfect Stabilized Whipped Cream Every Time
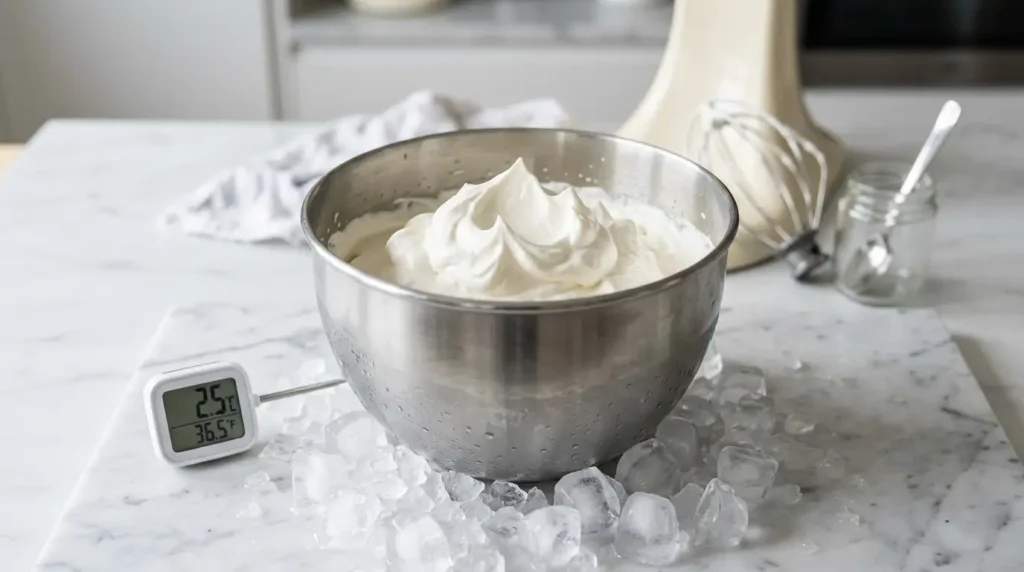
Cold everything. Cold cream whips faster and holds better. Cold bowl and cold beaters make a measurable difference — 10 minutes in the freezer before whipping is worth it.
Stop before grainy. Overwhipped cream separates into fat and liquid (essentially butter). Stop as soon as stiff peaks hold their shape. If cream looks grainy, it is already past the optimal point.
Heavy whipping cream only. Light whipping cream (30% fat) will not hold as well as heavy whipping cream (36%+). The fat content is what creates stable foam. Half-and-half will not work.
Add sugar and stabilizer after soft peaks. Adding cornstarch or pudding mix before whipping begins can interfere with aeration. Start whipping plain cream to soft peaks first, then add the stabilizer.
Frequently Asked Questions
Stabilized Whipped Cream Without Gelatin